I’m asked all the time what is the best tasting fish from the surf. Well the truth is, I release all of my fish back into the water with one exception—the occasional legal halibut. And it seems like I’m not alone.
California Fish and Game Department has stepped up their monitoring of halibut fishing this year in response to concerns about over fishing–All the result of so many anglers turning to halibut because of the closure of salmon fishing along the West Coast. Fortunately, halibut fishing has been exceptional this year from San Francisco Bay to the Mexican border with many three fish limits the rule.
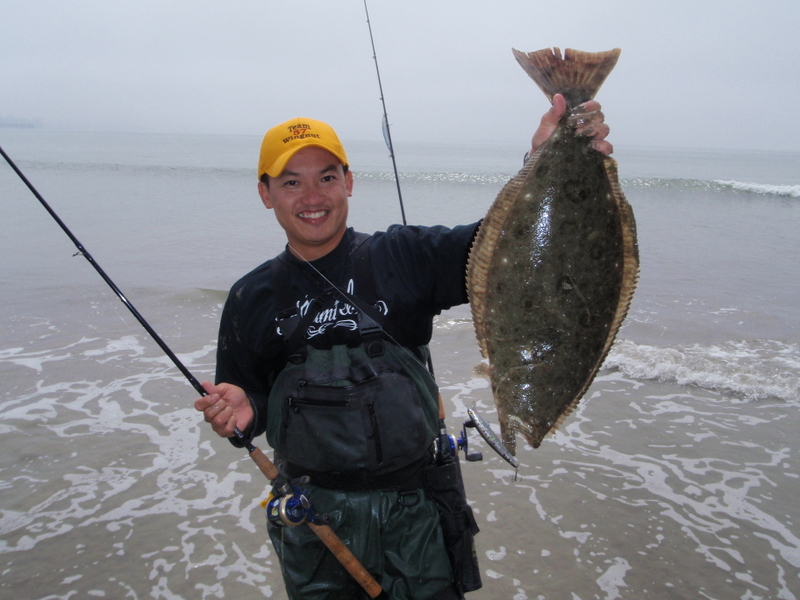
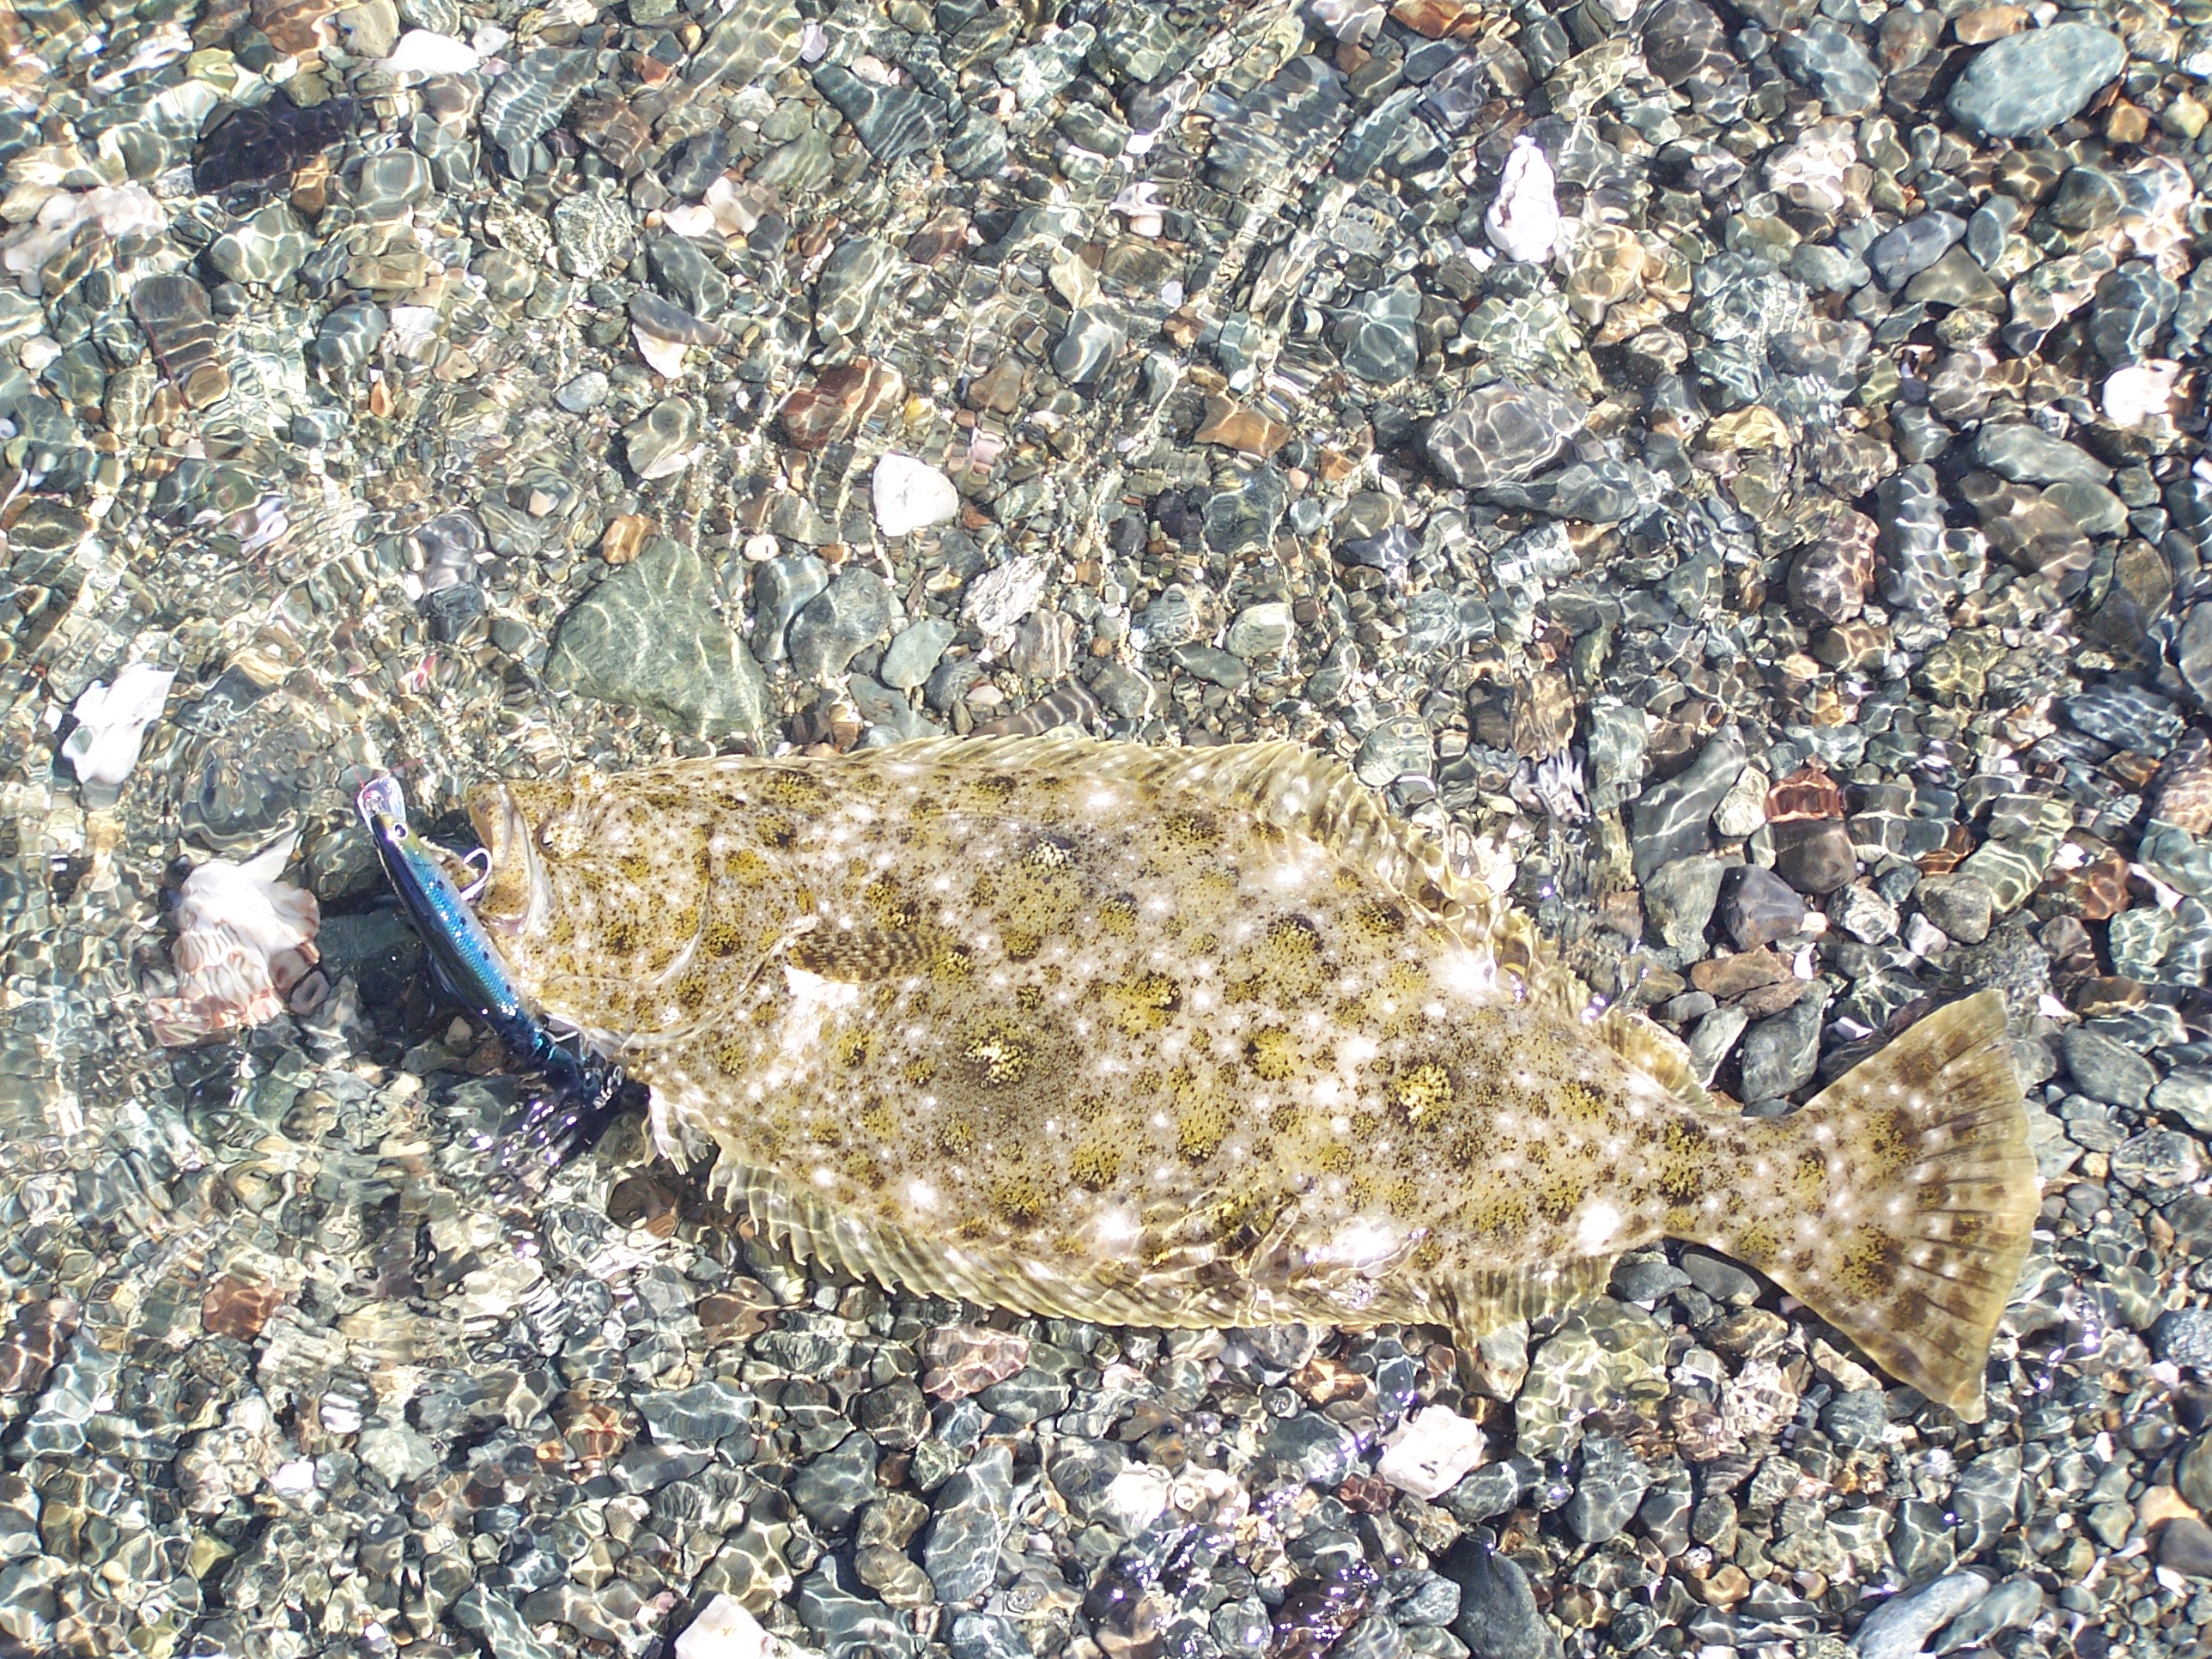
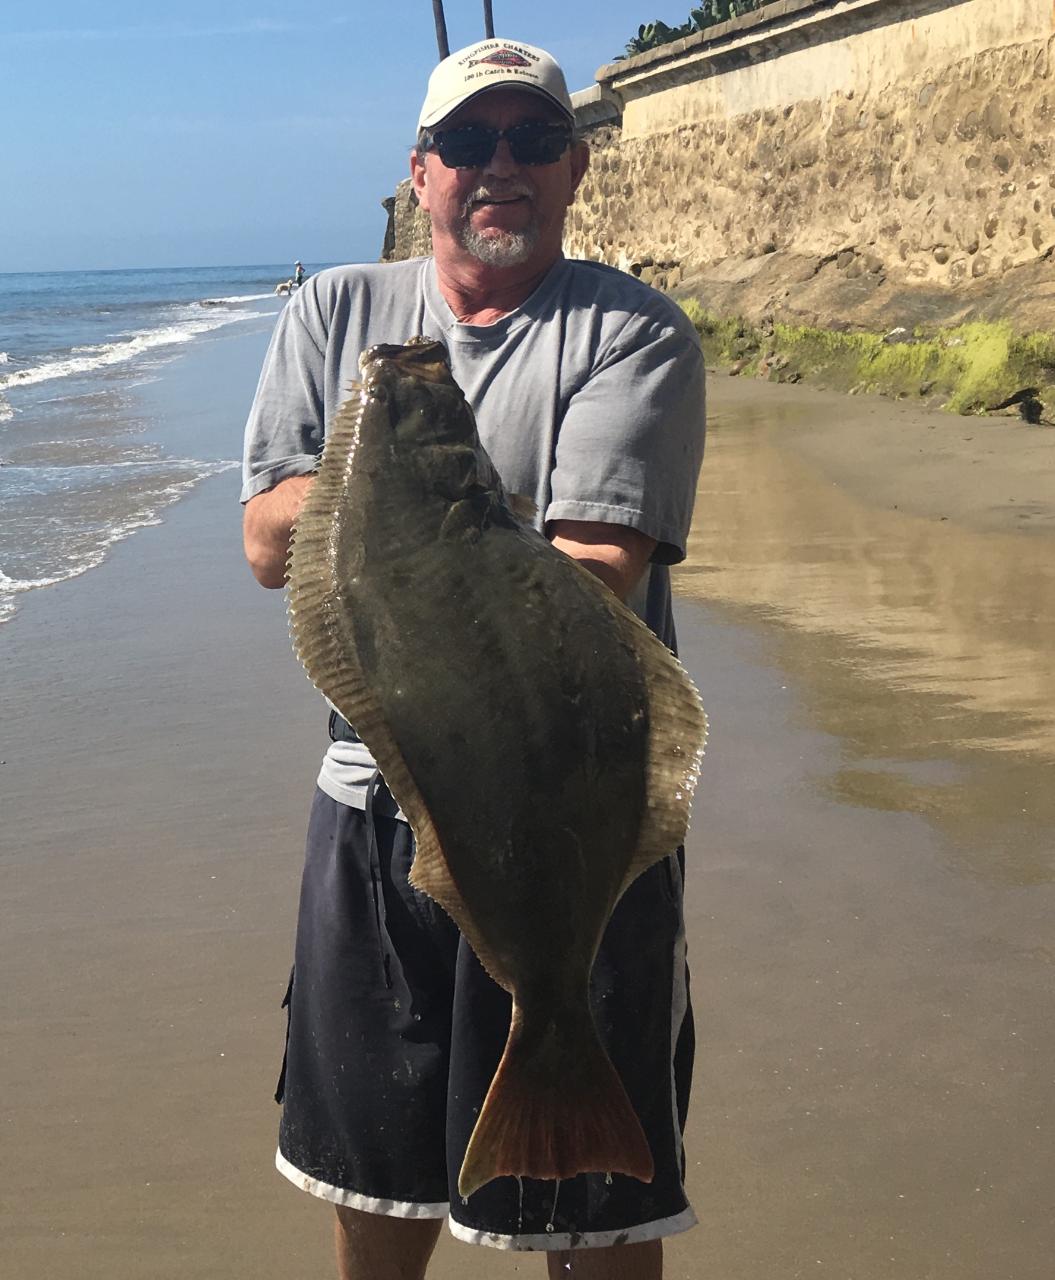
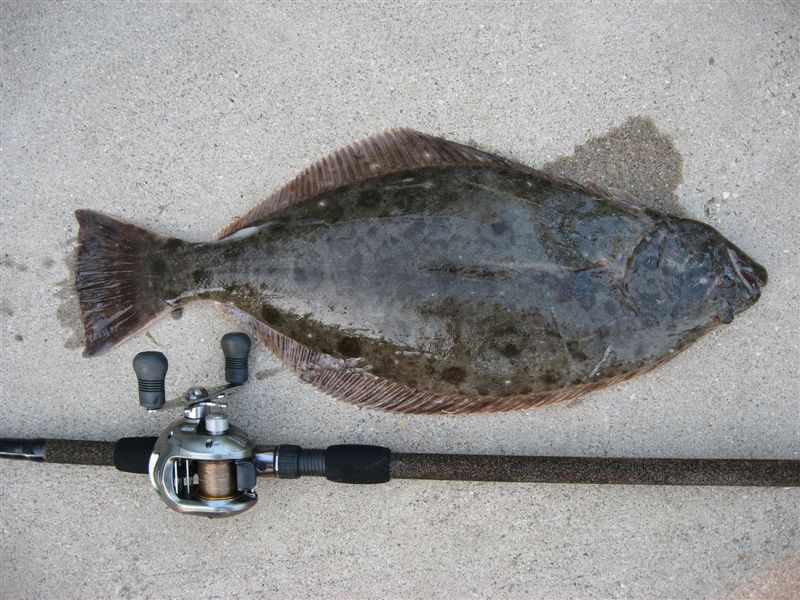
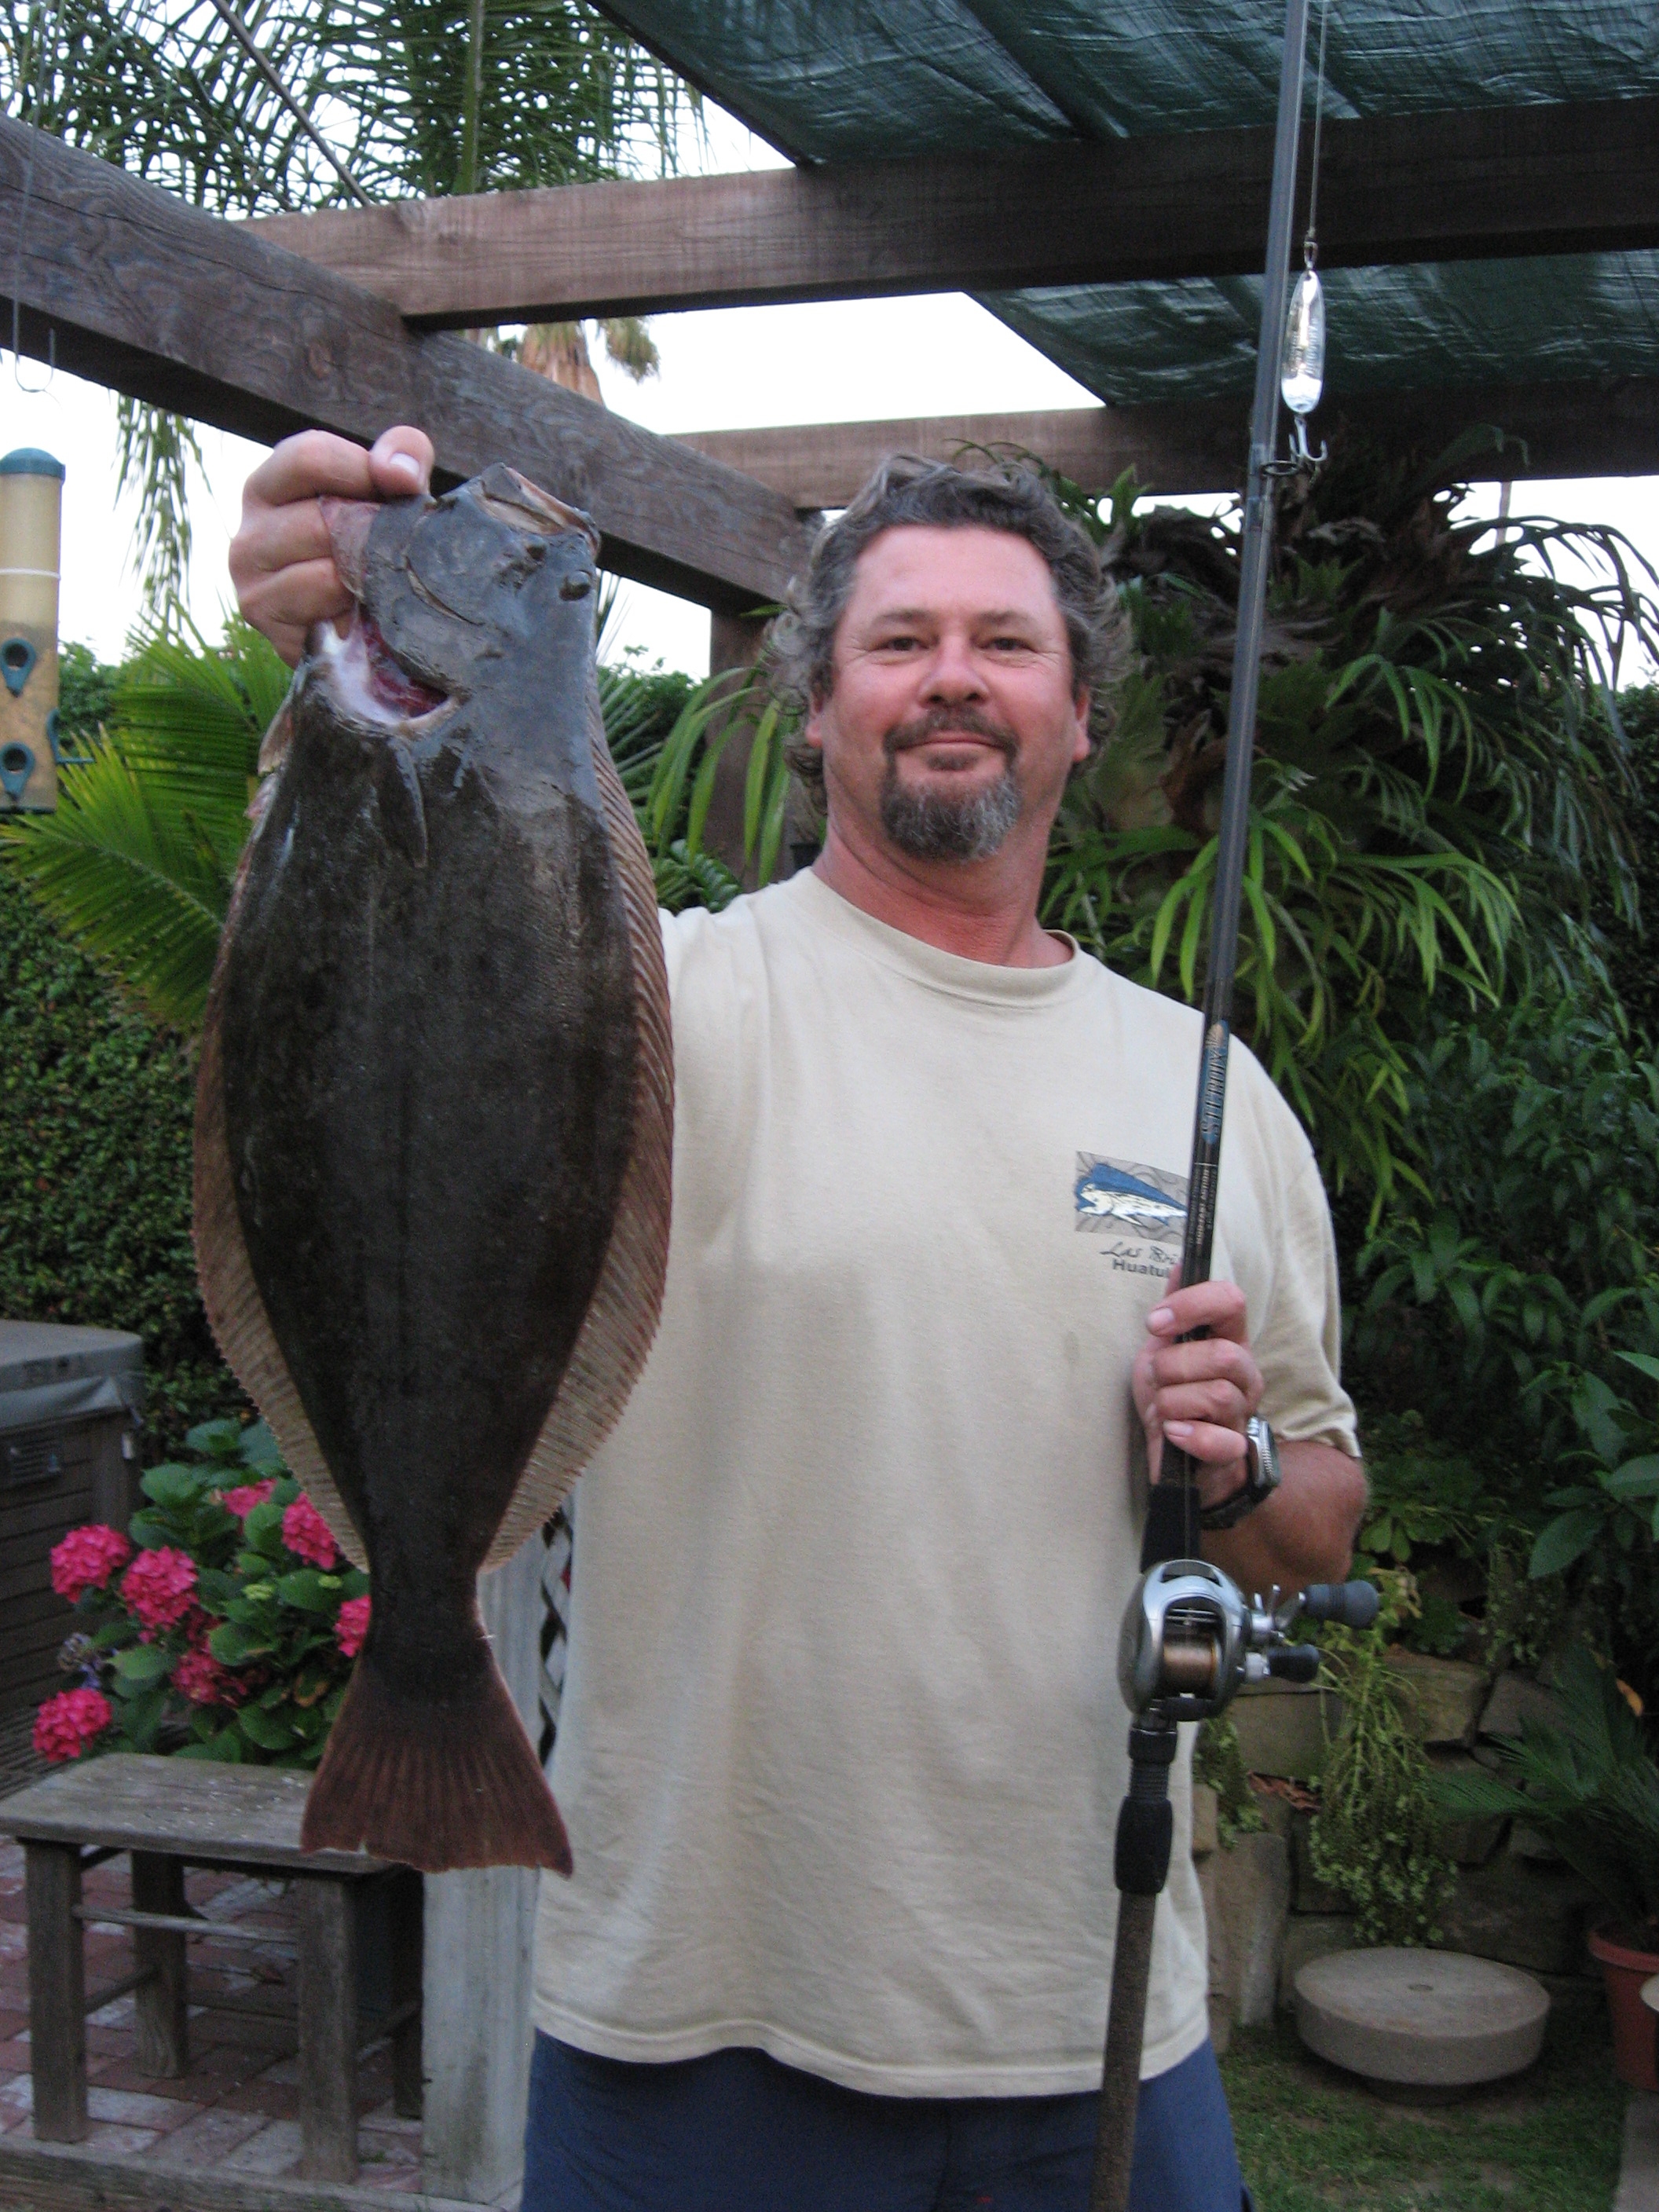
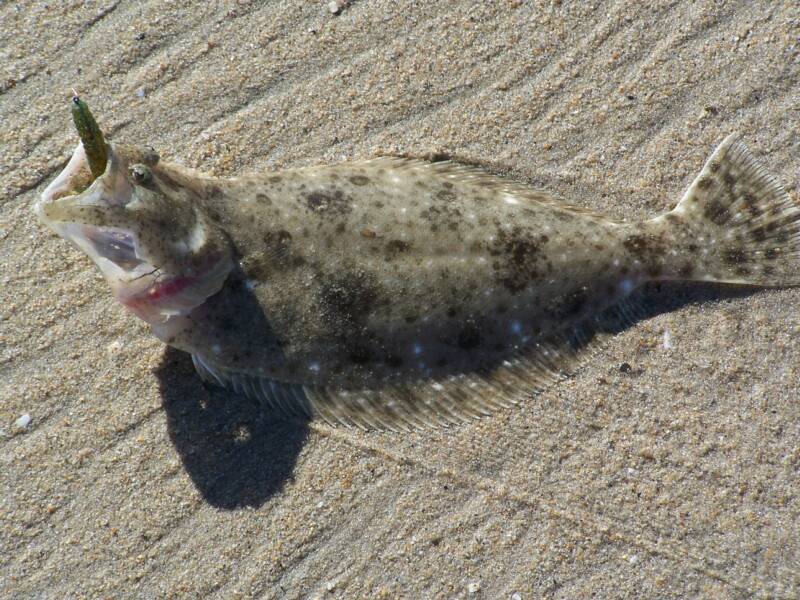
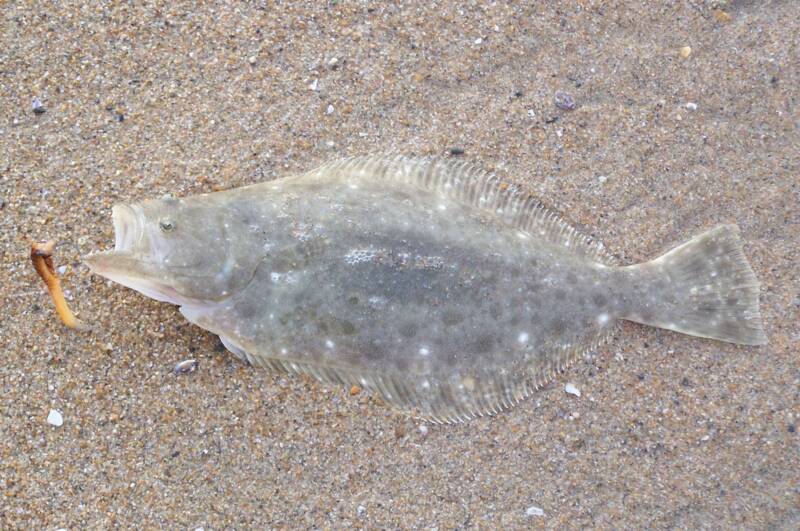
A non-migratory fish, the California halibut grows to over 60 pounds. The state record 58lb 9oz halibut was caught at Santa Rosa Island. These fish live in a depth range between 2 and 100 feet. In the winter most halibut swim into deeper water to feed and prepare for winter storms. In the spring, summer and fall halibut come into much shallower water in both the surf and just offshore, to feed and spawn. A “legal” halibut is one measuring over 22 inches and is considered one of the most sought after catches in the surf.
Best Places to Find Halibut
Boat fishermen love to target halibut but fishing for them from the surf is also productive. Some of my favorite places to fish for halibut are along the open beach, around jetties and near estuaries and river mouths.
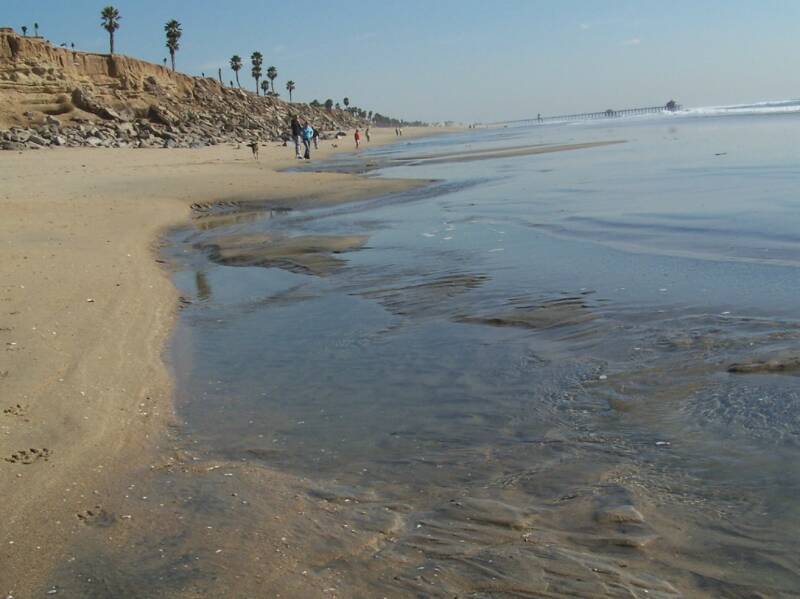
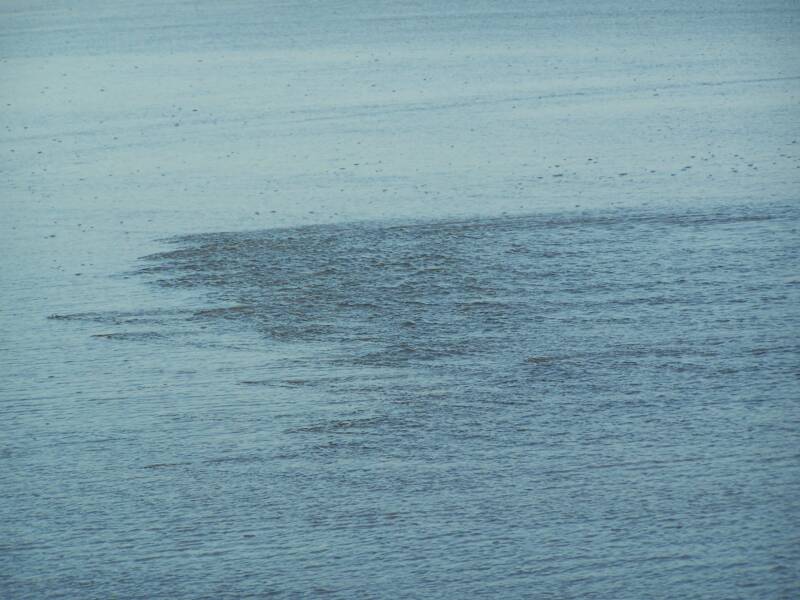
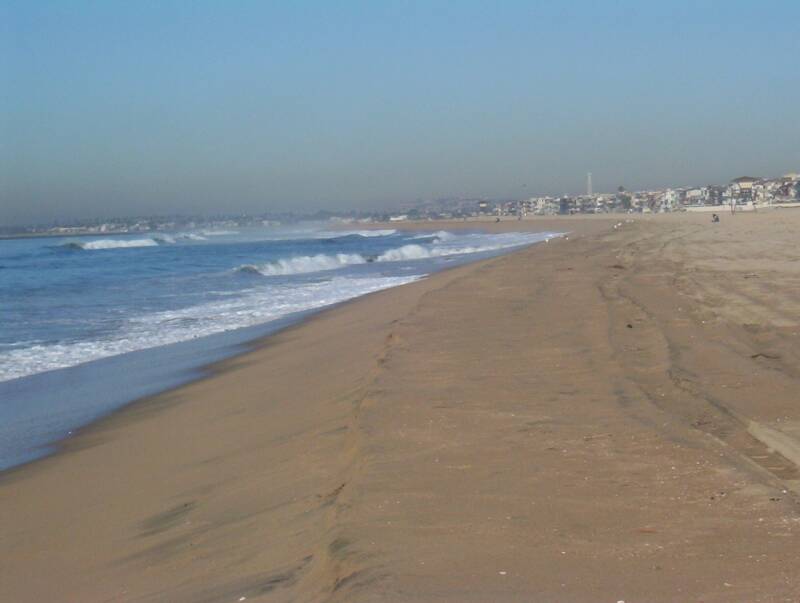
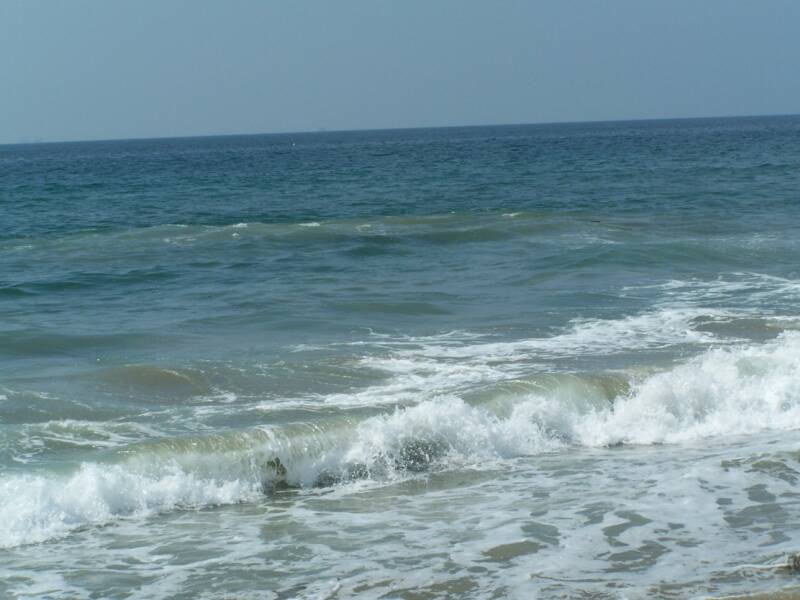
Open beaches offer a challenge when looking to target halibut. When you reach the beach find a high spot near the water’s edge and look up and down the beach for signs of fish. Because surf fish congregate near areas of jumbled or foaming water look for small rip tides that form just off shore. Another area to target is offshore structure including holes, kelp beds and reefs. Once you spot these areas, cast your bait or lure along the edge of a rip tide, structure or where rocks meet sand–this is where fish will be waiting to ambush bait.
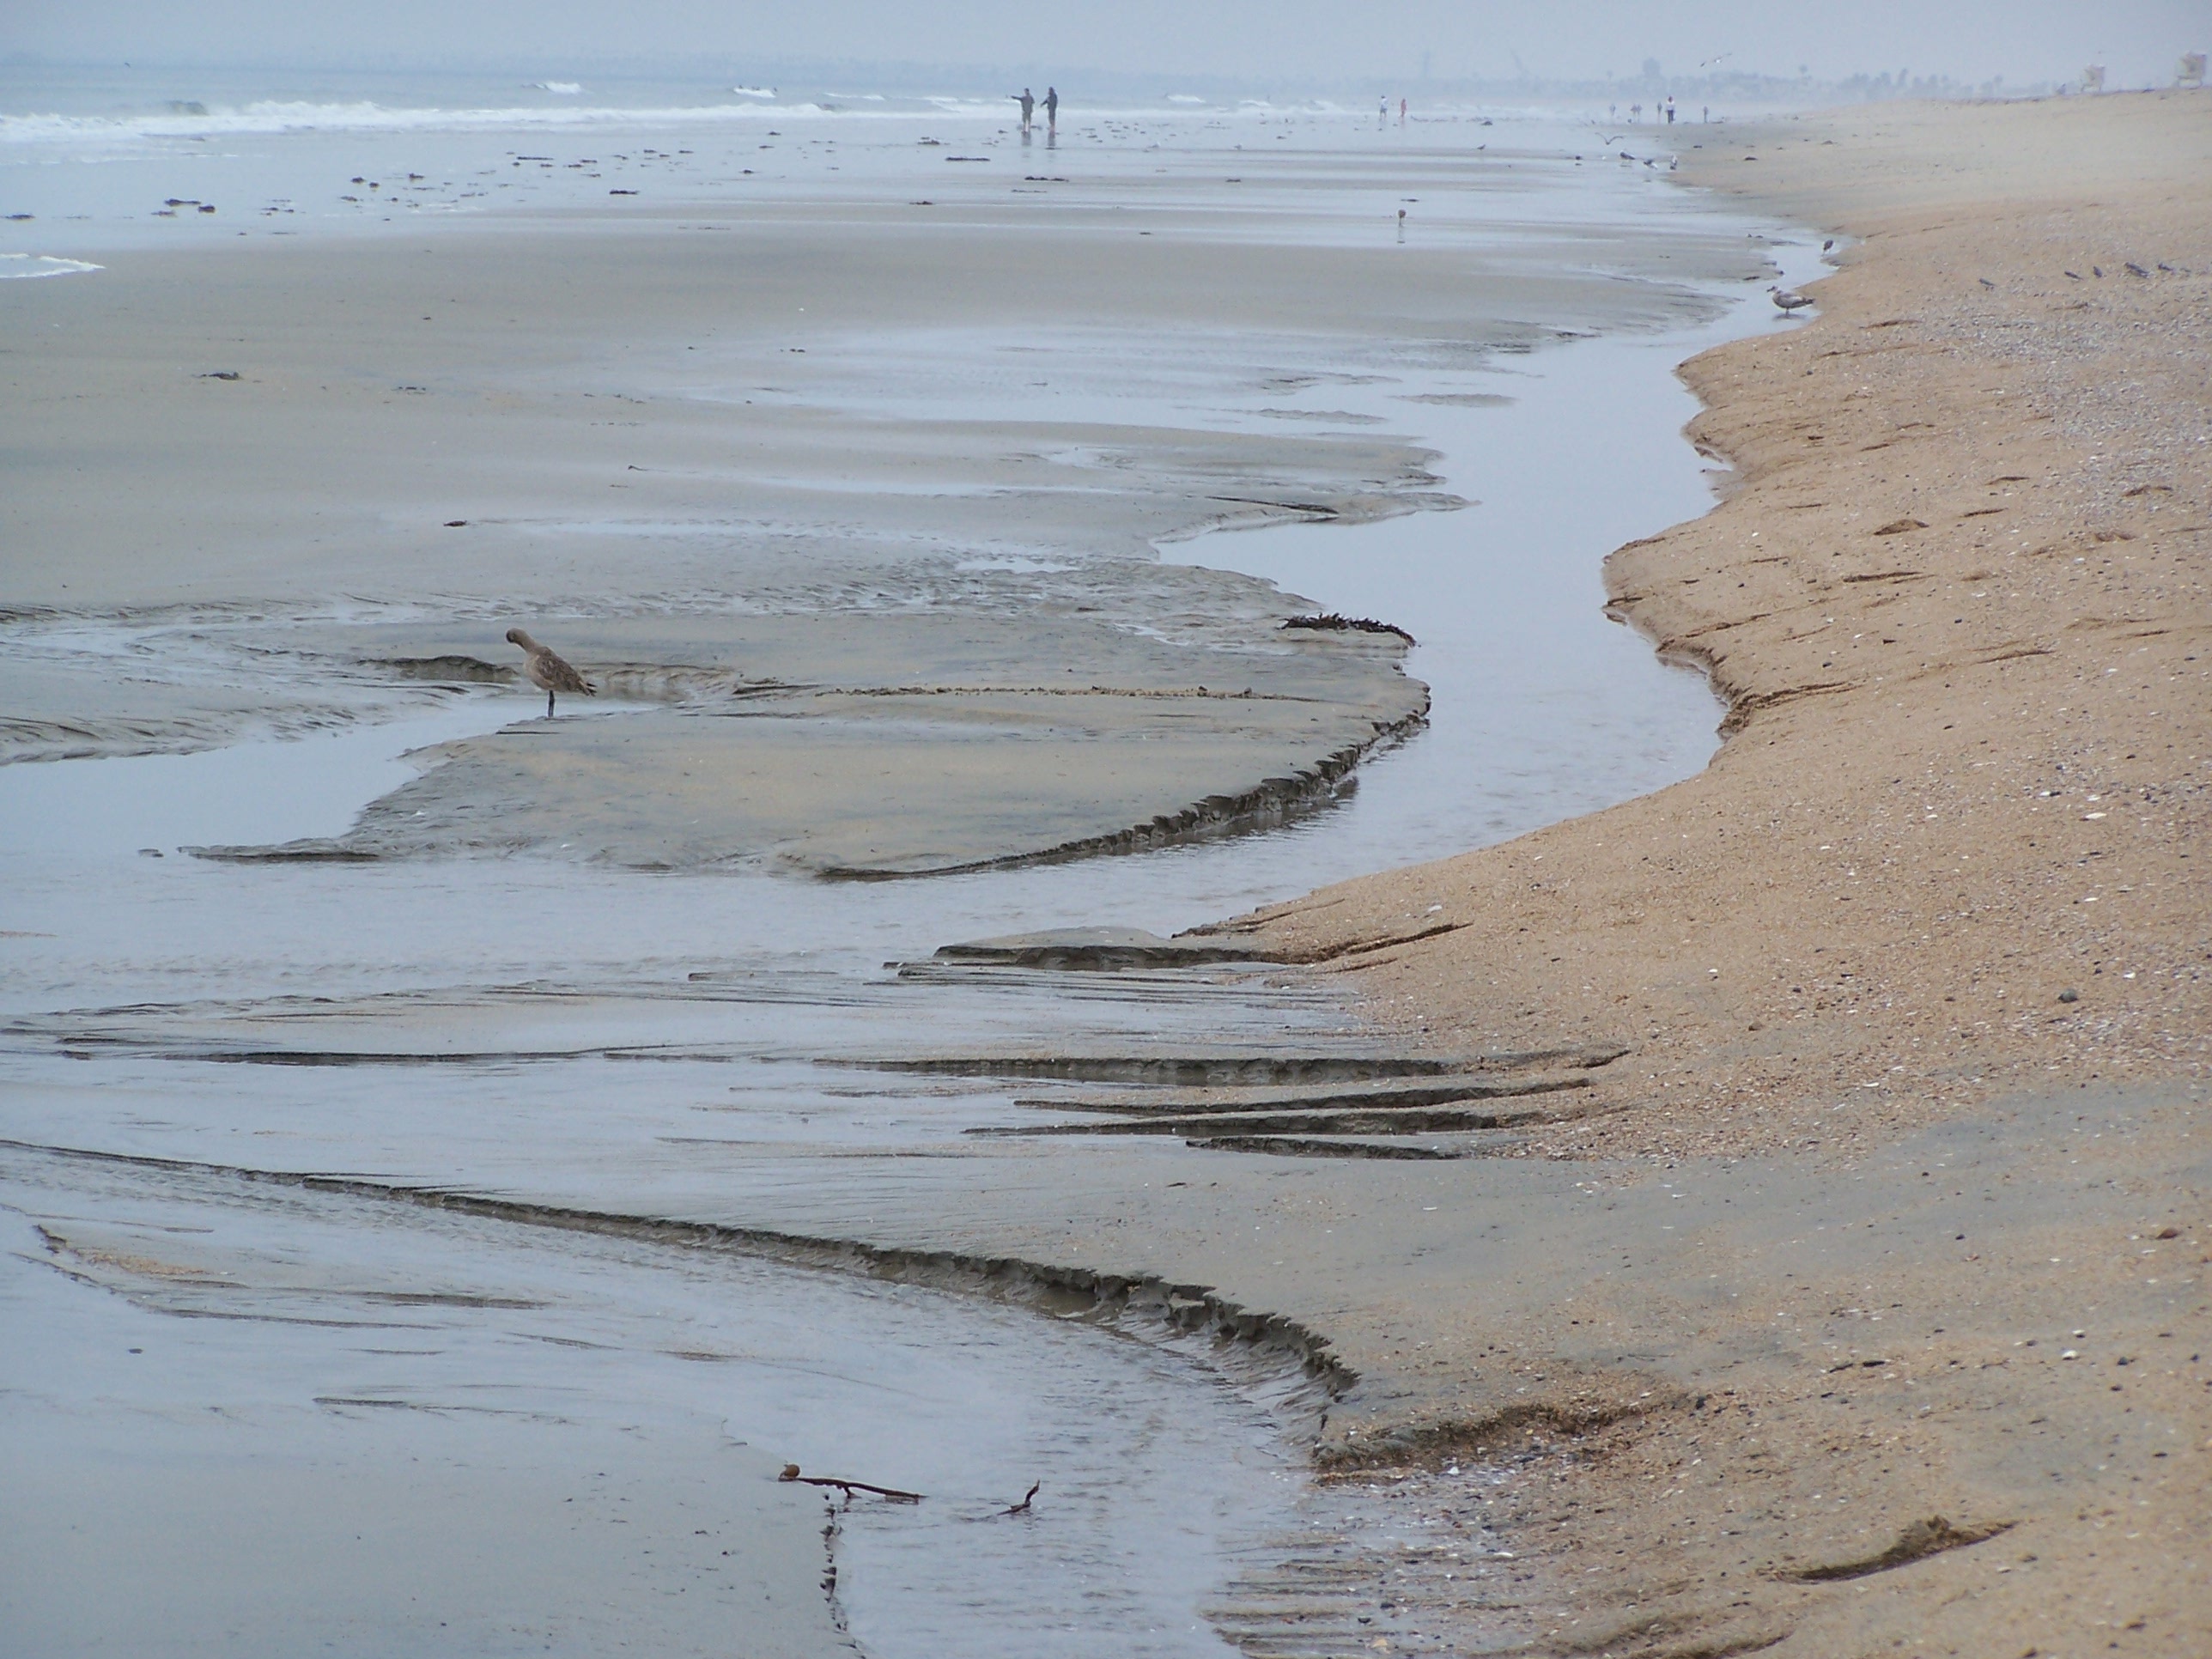
Halibut also congregate in the offshore troughs that are built just below the waves. These troughs are easiest to find at low tide and run parallel to the beach. One trough will form outside where the waves break farthest out from the beach, another trough will form where the waves break (during high tide) near the shore. Cast over and drag your bait across these troughs to entice halibut to bite.
Open beaches that have a rocky point adjacent to them are also great areas to target fish. Find where the sand meets the rocks and fish along this area. Halibut commonly lie-in-wait along these edges

Jetties also offer some great opportunities to catch halibut. The California coast is littered with man made and natural jetties that provide structure and habitat for halibut. As with open-beach fishing, it’s always smart to cast along the edge of rock where it meets sand to find the fish. But there are some subtle differences to also look for when fishing along a jetty.
When approaching the base of the jetty, where it meets the sand, look out to sea and make note of the direction of approaching waves and swells. If the waves are approaching the jetty from the right, a natural eddy will be generated on the jetty’s opposite side (left side). If waves are coming from the left, an eddy will form on the jetty’s right side.
Eddys are much like a rip tide and are characterized by swirling, foaming off-colored water. Fish congregate in an eddy where moving water churns up bait and allows them to stay hidden while they wait to ambush food. Once you find the eddy, fish along its edges and cast through the middle to find the fish. Don’t be surprised when the tide or swell direction changes and the opposite side of the jetty becomes the best place to fish.
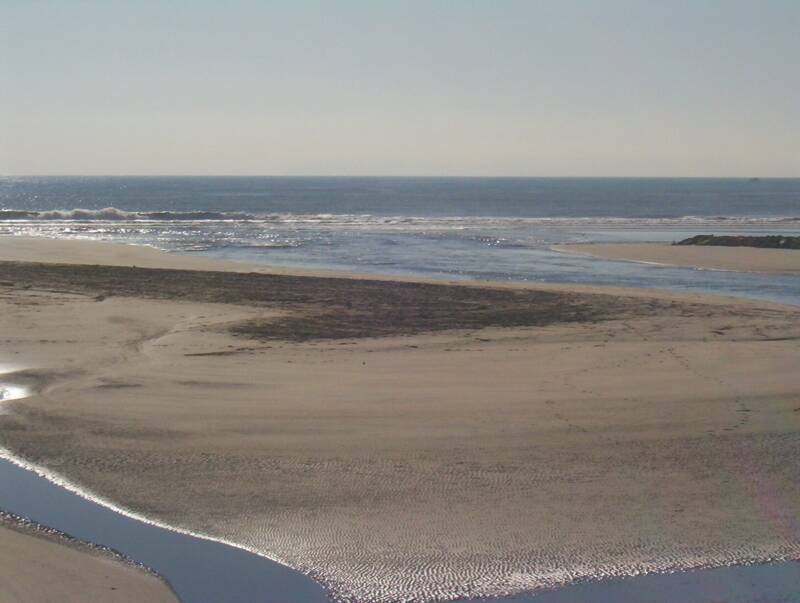
Estuaries and river mouths are almost always connected as a way for fish to run from warmer breeding grounds out into open-ocean. The California coast was once littered with hundreds of natural estuaries that acted as rockeries for growing fish stocks. After unprecedented development and growth many of these breeding grounds were filled or closed off to ocean circulation. Still there remain a few in almost every beach community that offer fantastic surf fishing.
When approaching an estuary and river mouth area use the same rule of observation as with jetties—determine the direction of the swell and current and how it effects water movement. Unlike with jetties, tide flow will have a much bigger effect on fishing the river mouth. A high going to a low tide will pull water out of the estuary and toward the open ocean. A low going to a high tide will push water and waves up into the estuary and change the direction and movement of fish.
Again, look for the formation of eddys. On an upcoming tide, an eddy may form just inside the river mouth. As tides recede, an eddy may form just outside the river mouth in an area of open-ocean. This is where the fish will congregate to lay in wait for your bait. Fish your bait along this edge and allow it to be pulled by the tide and current into the strike zone. Try to stay away from areas where the water is moving quickly as fish here will not be able to catch up with your bait.
The best way to become familiar with good fishing areas is by looking up your favorite strip of coast at: http://earth.google.com/ and mapping out a strategy for fishing. At this site you’ll be able to zoom into any coastline on the planet and find the best spots to fish. Look for areas where jetties and river mouths meet the beach. You can also find areas where there are large inshore holes or sand bars, points, kelp and reefs. Take some time to research your areas and you’ll have a lot more luck with a lot less gas!
Time and Tide
Each beach will have it’s own special time where fishing is best but here’s a general guideline that you can follow. When fishing the open beach, halibut fishing seems to be best at or near low tide. Lower tides give you the advantage to wade into the surf and cast well beyond the surf line. Low tides also allow you to reach the outside holes and structure that hold fish. Although some spots do fish well at high tide, our best luck on the open beach has come at peak low minus tides.
Near jetties I’ve found the best tides to be medium to high tide where the halibut come in close to the rocks to feed and spawn. Watch for high and low astronomical tides (the greatest swings in tidal movement because of moon phase), which move more water and create a larger or smaller eddy circulation. These tides improve jetty fishing and really stir the water up for halibut. If fishing the rocks at low tide, try using the jetty as a platform for casting to areas outside the rocks that don’t usually get fished.
Estuaries that are connected to the open ocean by a series of jetties or a river have always been very productive. Because fish use these river inlets to enter and exit the estuary there is no better place to target big fish. Strong currents during incoming and outgoing tidal flows sometimes makes it almost impossible to fish for halibut in these rivers.
That’s why fishing just minutes before, during and after low tide and high tide will give you your best chance at catching a keeper. During these slack tide periods your bait is presented in a more natural manner and the halibut, a lazy fish by nature, will have a better chance to attack your bait.
One more tip: The best time to fish for halibut is just after the grunion run. As grunion come ashore so do halibut to feed. A good run holds halibut near shore for up to two weeks as they search for bait, spawn and digest what they have found.
You’ll find a tide graph in real-time and a schedule of grunion runs at www.fishthesurf.com.
Tackle
When it comes to tackle you have a couple of different choices of rod and reel combinations depending on whether you will be using live bait or lures.
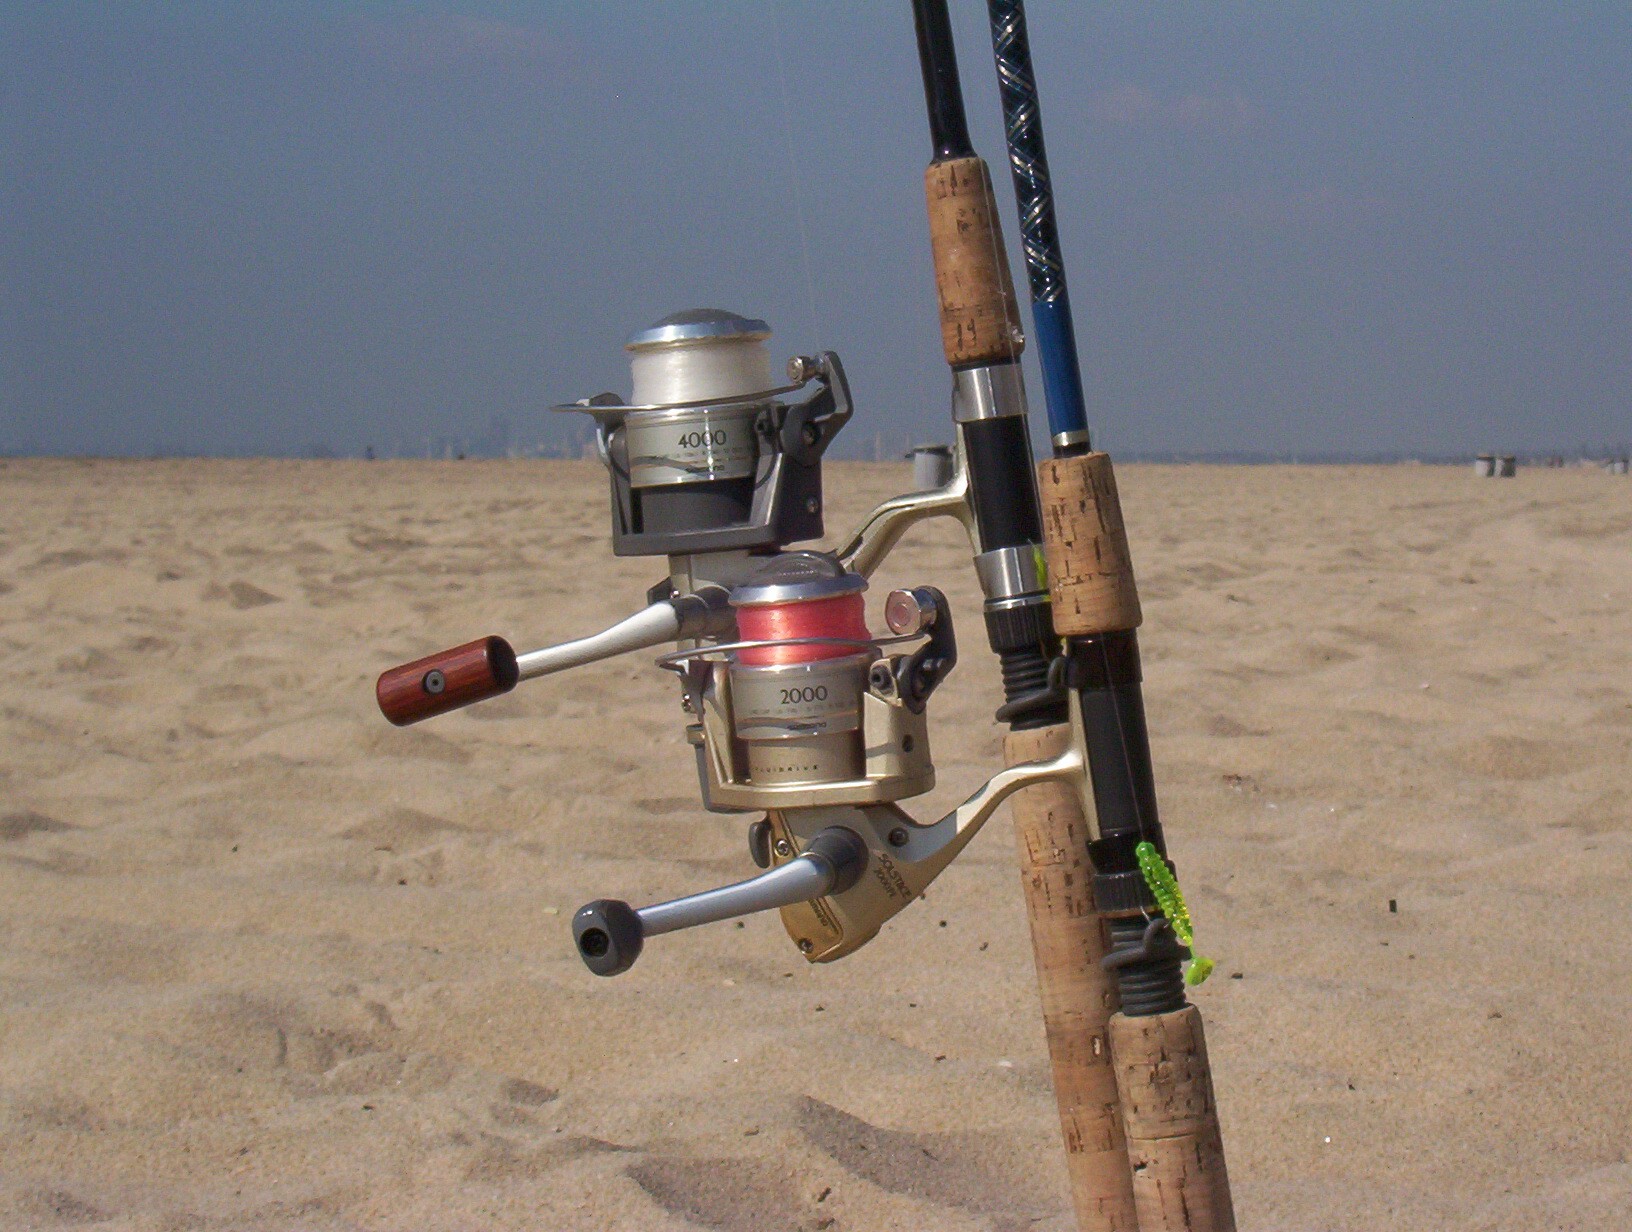
For fishing lures it’s good to get started with an 8’ rod rated for 8-16lb line. Spinning and conventional reels both work well. For lure fishing, I prefer a conventional reel because it seems better matched to my rod when it comes to fighting the fish and directing it away from snags. There are many good conventional reels on the market so just make sure you have a smooth casting reel with at least 300 yards of 8-12lb line.
Conversely, when it comes to live bait I like to use a spinning reel because it seems easier to cast with a set up that includes a long leader and sinker. Once again I like to use a longer 7-9’ rod rated 8-16lb test and a 3000 size-spinning reel rated for 300 yards of 8lb test monofilament. I also recommend a spinning outfit for lures when you’re fishing in a tight area like under a bridge or near a pier or anywhere else your casting may be restricted.
Rigging
When it comes to halibut rigging I use two basic setups. The first is the Carolina rig which works best with bait (and also has some lure applications). The second rig is a lure tied directly to my monofilament mainline.
Carolina rigging consists of a sliding egg sinker, bead, swivel, 18”-36” leader and a hook. In small surf a ½ ounce egg sinker works well. In bigger surf or when fishing in the wind use a 1-ounce or heavier sinker to keep your bait on the bottom.
I like to use a black swivel, a clear bead and a fluorocarbon leader. In small surf my leader may be as long as 36”. In large surf always use a shorter leader (12”-18) to be sure your bait stays in contact with the bottom.
The hook I like to tie to the end of my leader is a conventional “j” hook, which is very sharp and made of thin black wire. The most important part of the rig is the hook so be sure your hooks are new, in good condition and very sharp. Some good hook choices include split shot, mosquito and octopus hooks in sizes 1, 2 and 4.
The Carolina rig work best with all live and fresh dead baits and also with a fly tied to the end of the leader in place of a hook.
The second setup I use when fishing with lures is either a straight connection of the lure to my mono or using a uni to uni knot to connect my main line to 10lb fluorocarbon leader and then tying on my lure.
Fluorocarbon leader is a good idea whenever I’m fishing near rocks or over structure. Fluorocarbon allows me to use a heavier leader and it’s much more abrasion resistant than monofilament.
So in open beach areas I’ll tie directly to mono; while in rocky areas like jettys and reefs, I’ll always use the fluorocarbon leader because of its abrasion resistant qualities.
Lures and Bait
When it comes to lures and bait fishing for halibut the options are almost endless. It seems that almost everyday I see someone on the Internet or an email that lets me know that something we never thought would work is working. As a testament to this, over the last two years there has been a great crossover of freshwater lures, especially bass lures, which work well in the surf.
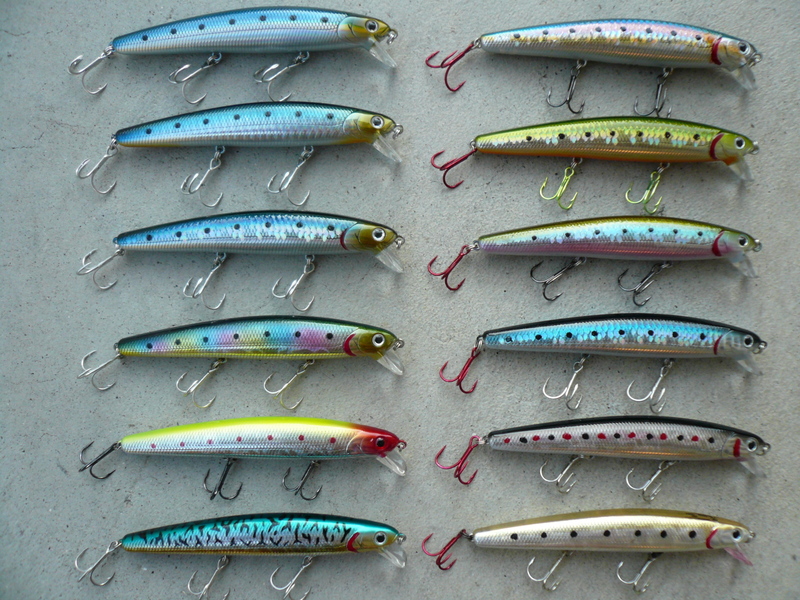
Baits that Crank
Without question the most productive surf lures have been both Lucky Craft LC 110 (now FM 110) Sardines and Rapalla SXR-10 Slash Baits. These lures are best cast out and retrieved with a stop and go motion. They should be tied straight to your main line or onto a short uni to uni connected fluorocarbon leader. Most halibut move slowly so a fast retrieve may pass the fish by. A fish attractant applied to your lures will also help to attract fish and make them hold on once they bite.
I suggest that you wash these lures in fresh water after each trip to the beach. When you see dull hook tips and rust replace the treble hooks.
Both of these lures seem to work best and look most natural during slack tides when you can use a stop and go motion and the lure is not fighting the current.
Spoons
The two most effective spoons for the surf have always been Luhr-Jensen’s silver Krocadile and the Acme Kastmaster. These lures are easy to use and should be tied directly to your line. A good size to use is one between 5/8oz and 1oz.
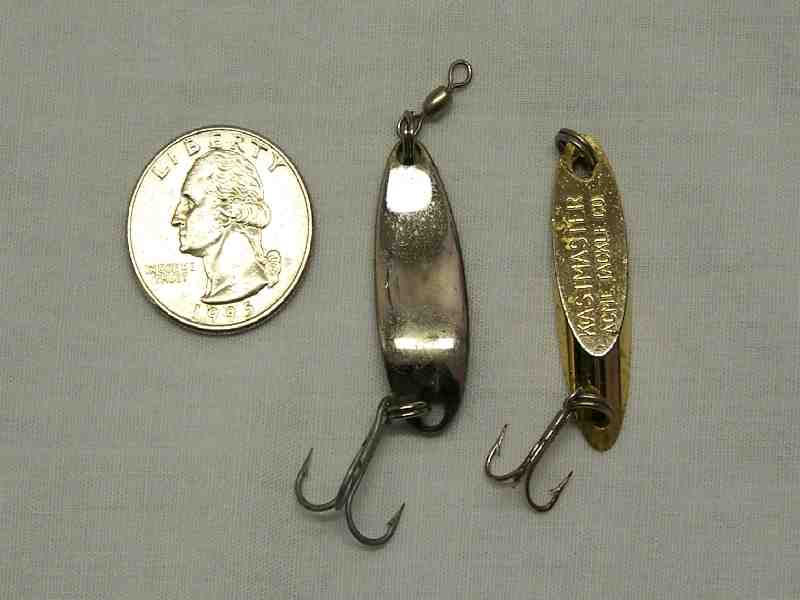
A long fan casting pattern and a slow retrieve, with the lure bouncing across the bottom, seems the most effective presentation. Fishing spoon lures at peak low tide will allow you to cast outside the surf line to offshore structure and holes. Or, fish these lures at high tide and you can concentrate on the inshore trough where halibut hunt for food.
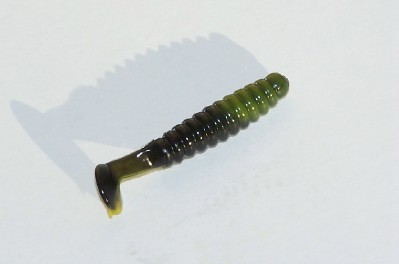
Plastics
Grubs and plastic lures also work great in both the open beach and near rocks for halibut. Two styles of plastics seem to work best in the surf.
The first, known as a grub, is in the shape of a pollywog. Most grubs in the 1 ½” to 3” range seem to work best. Attach grubs to you line using the Carolina Rig. Be sure to use a short leader in big surf and a longer leader in small surf. Grubs work best when cast out in a fan pattern and retrieved slowly, using stop and go motion, across the bottom. Be sure to use enough weight, as directed by the surf, surge and wind, to keep your bait in constant contact with the bottom. Always remember to use a sharp thin wire hook.
Unlike the grub, plastic swim baits can be tied directly to your mainline. Use a leadhead that matches the size of your bait and the current you will be fishing in. Once again remember to keep your bait in contact with the bottom and don’t be shy from dunking your plastics in “hot sauce” to attract and catch more fish.
The best colors for finding halibut have been the colors that reflect what the fish have been eating. Sardine, anchovy, green, brown and oranges have always worked along with stark white that probably resembles squid that halibut scoop up from the bottom.
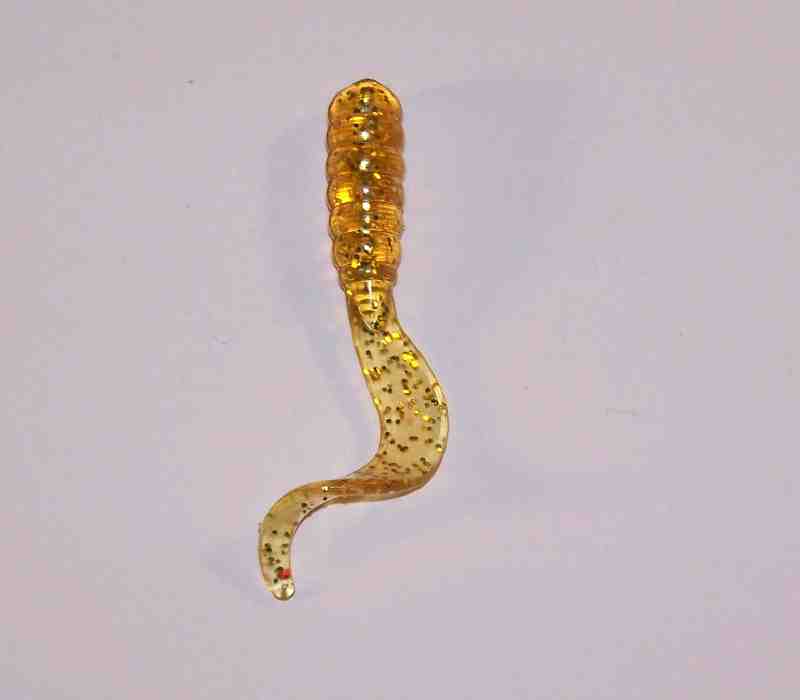
Twitch Baits
Twitch baits are made of the same material as plastic baits but require different rigging. These baits are a true crossover from fresh water bass fishing and have become very effective when used in the surf for halibut. Look in your local tackle shop for Basstrix and Sluggo products.
Rig the twitch bait with either a small 1/8th leadhead (or the new Mustad “Power Lock” weighted hook) and tie it directly to your line. You may also rig it using the drop shot method.
The drop shot rig is simply a sinker on the very bottom of your line and a loop 12” – 24” up your line for the hook and bait. When using the drop shot rig, don’t tie the lure directly to your loop. Run the line through the hook’s eye and allow the lure to slide freely on the loop in your line. This will give the bait a much more natural look and help you to entice more fish to bite.
Twitch baits work best when they are cast out and retrieved slowly using stop and go then twitch motion. When using the drop shot rig try to find the lightest sinker you can use and still stay on the bottom. This will help to reduce the number of snags and tangles in the rocks. Look for lure colors that reflect what the fish are eating and fell free to use the “hot sauce” on these baits too.
Surf Fly
Fly-fishing has always been productive in the surf. But the skill, equipment and work needed to be productive using a fly outfit has kept most anglers from picking up the fly rod and heading down to the sand.
By using a fly presented on the Carolina Rig it is easy to use both spinning and conventional reels. The most effective surf fly is the Clauser minnow which mimics a small grunion or smelt in the surf.
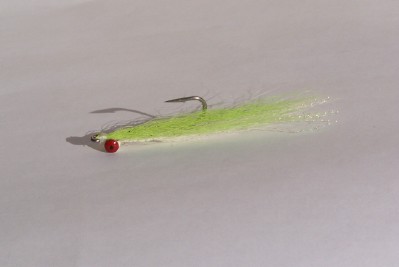
Lime, olive green and chartreuse with white have always been productive colors. Apply “hot sauce” to the fly and fan cast the bait past the surf line. Using a slow retrieval, pull the fly across the bottom in areas near structure and rocky out croppings.
Live Baits in the Surf
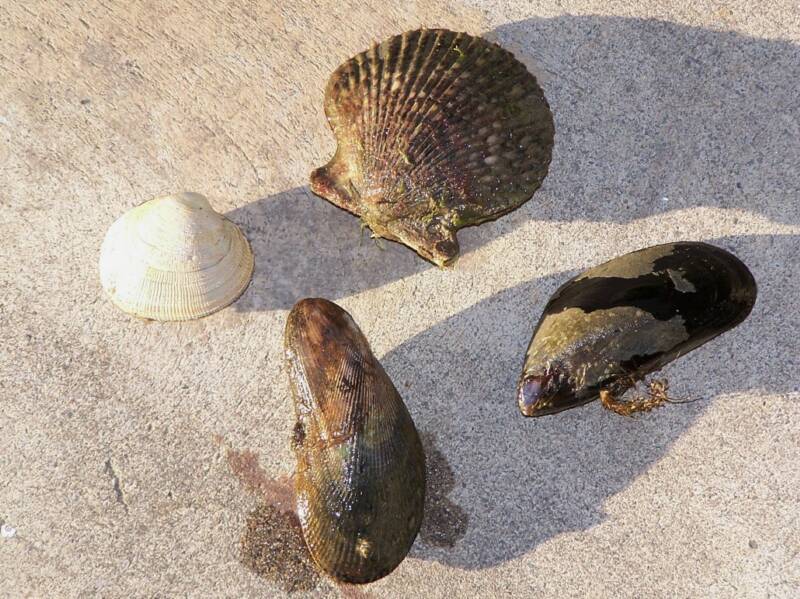
There are many types of live bait locally available for use when targeting halibut in the surf. Live, fresh dead or unfrozen sardine, anchovy, smelt and grunion all work well in the surf. Additionally, strip mussel lip, threaded on the hook like a worm, is natural bait for halibut and also seems to work well when the bite is tough.
Use either a spinning or conventional outfit and the Carolina Rig. I like to hook my baits (anchovy, sardine, smelt, grunion) through the bottom and top lip with my hook to be sure they swim correctly and give the most natural presentation. Fishing with natural baits requires a much slower retrieval and periods of stop and start that allow the lazy halibut to catch up with their next meal.
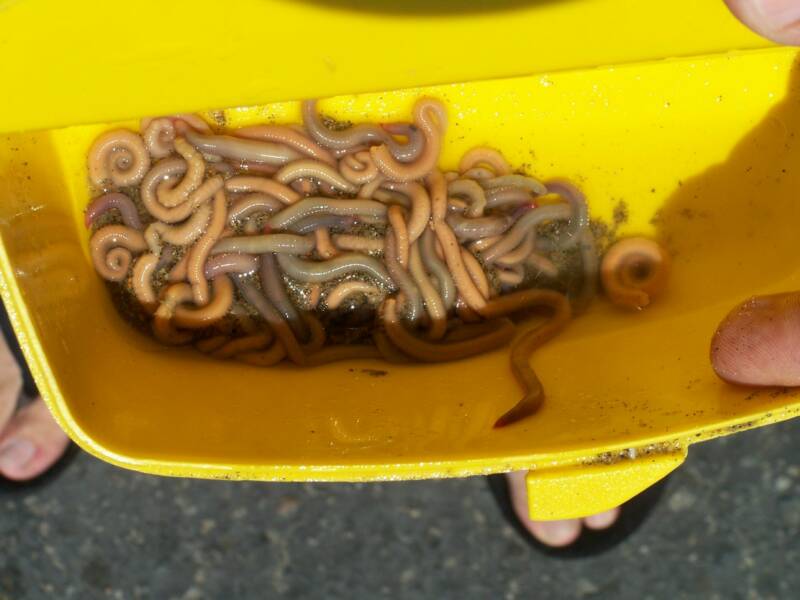
Both anchovy and sardines can be purchased at your local tackle shop or quality fish market. Smelt and grunion can be caught by anglers and kept alive or fresh dead for bait. You’ll find smelt near docks, inlets and inside local harbors. They can be caught with a bait catching rig or with breadcrumbs. Grunion can only be caught by hand during a grunion run at your local beach—but be careful, as there are specific times they are not allowed to be collected.
With so many choices for bait and halibut rigging it’s almost hard to know where to start. Take a moment to ponder my tips and don’t be shy to ask a friend about their “secret” flattie techniques. It’s with information like this that you’ll be able to formulate your own style and teach the rest of us how it’s done.
So when it comes back to the question of which fish from the surf I like to eat it’ll always be the halibut. Once in a while I’ll take one in the 24”-30” range and have a delicious meal. The rest I’ll set free to, eat, grow and bite another day. So take some of the tips from what you’ve read today and add your own ideas—That way you’ll be guaranteed to discover the best technique to catch halibut at your favorite beach.
Bill Varney’s passion for surf fishing is detailed in his how-to book: Surf Fishing, The Light-Line Revolution available at most tackle shops and on line @ www.fishthesurf.com –where you’ll also find surf fishing reports, rigging tips, beach condition web cams, tides, moon phases, tackle tips and more…
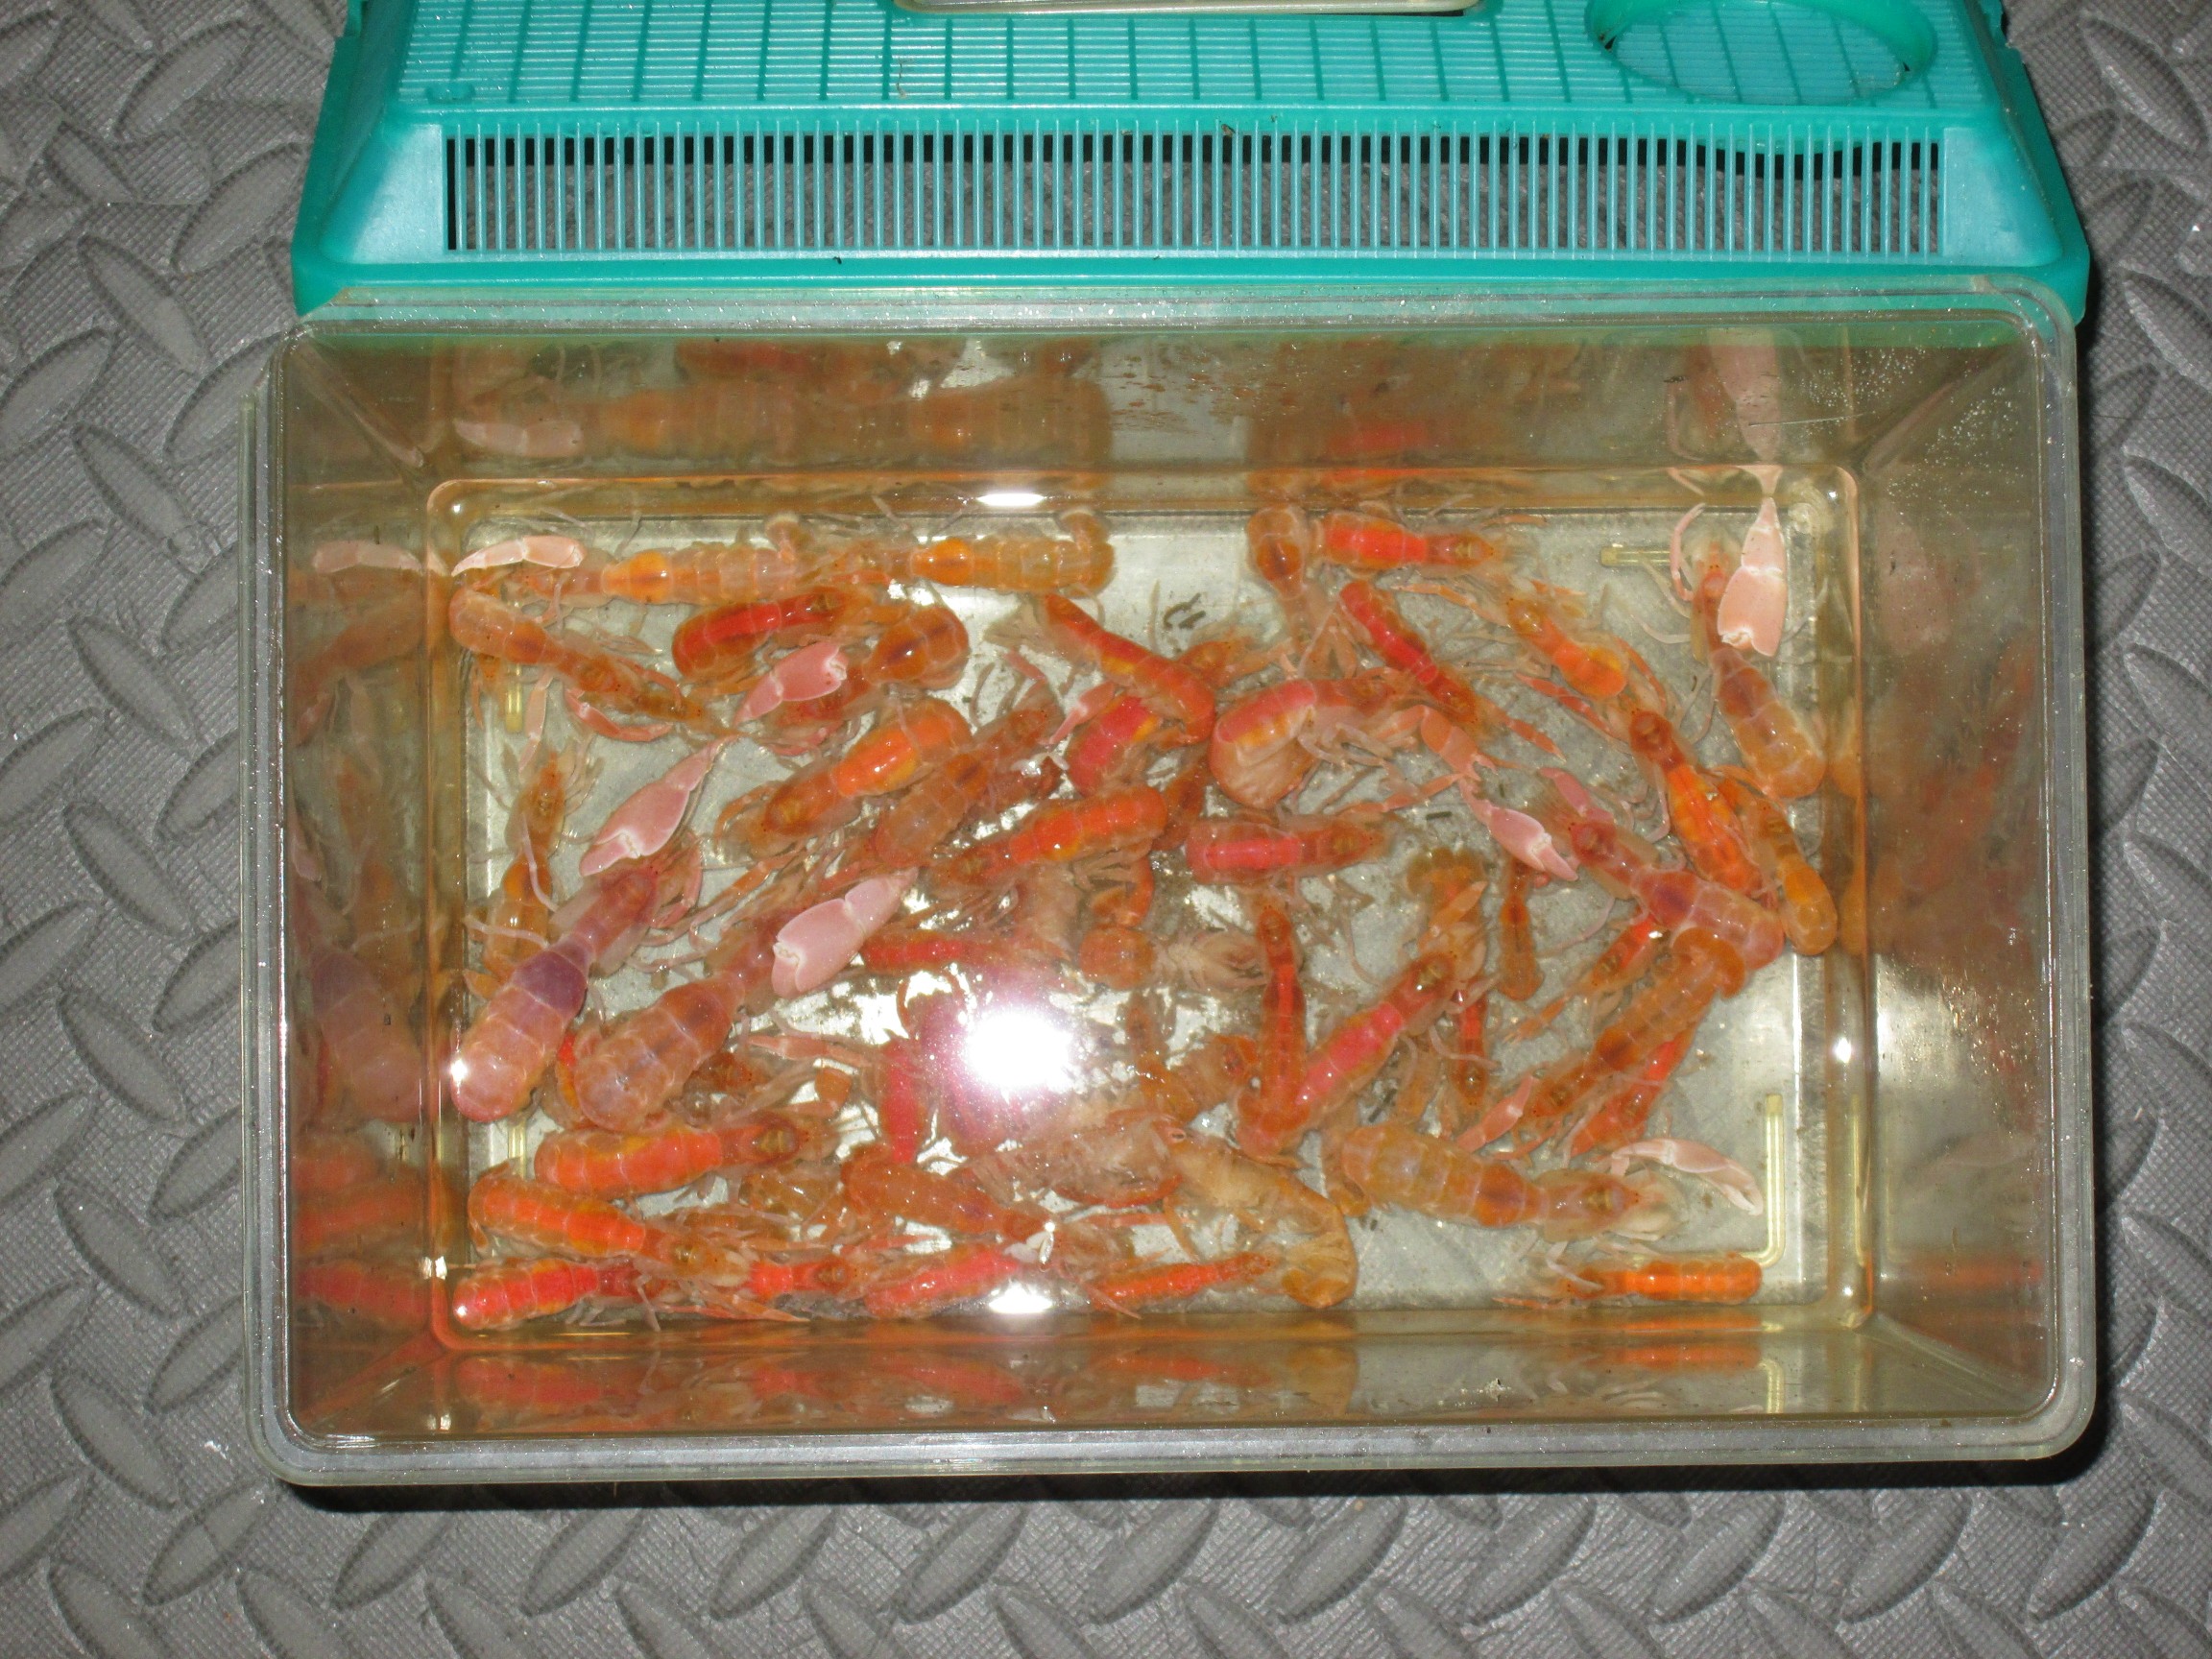
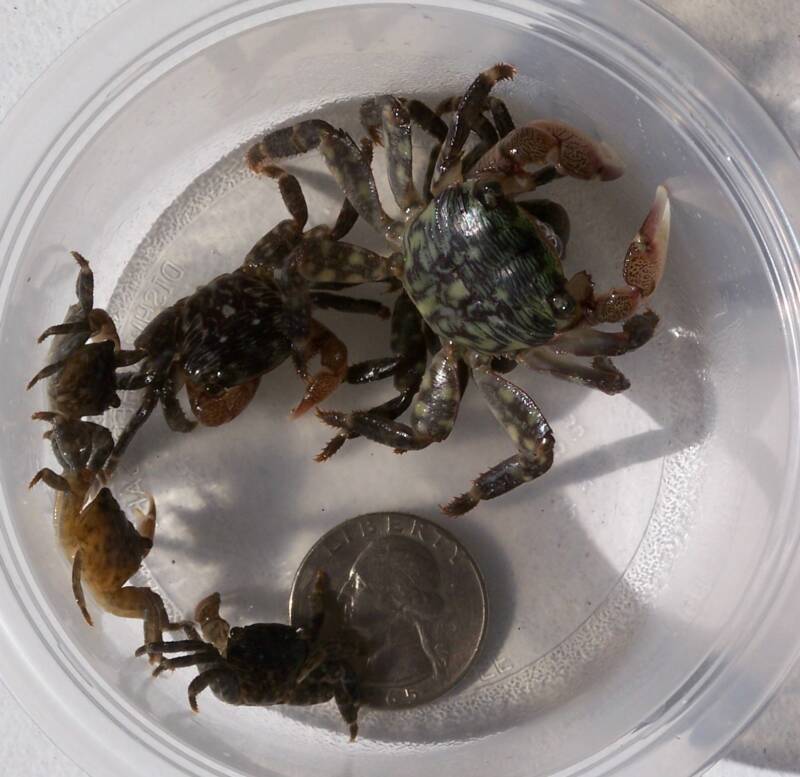
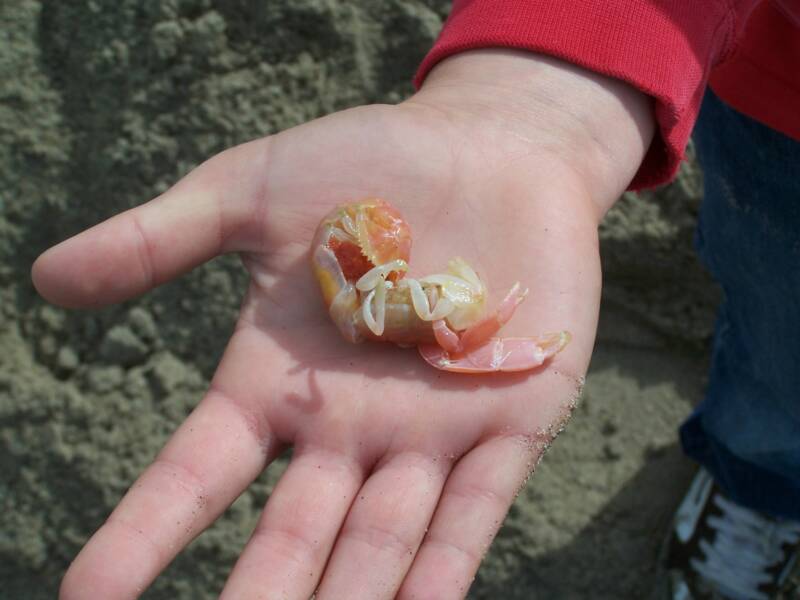
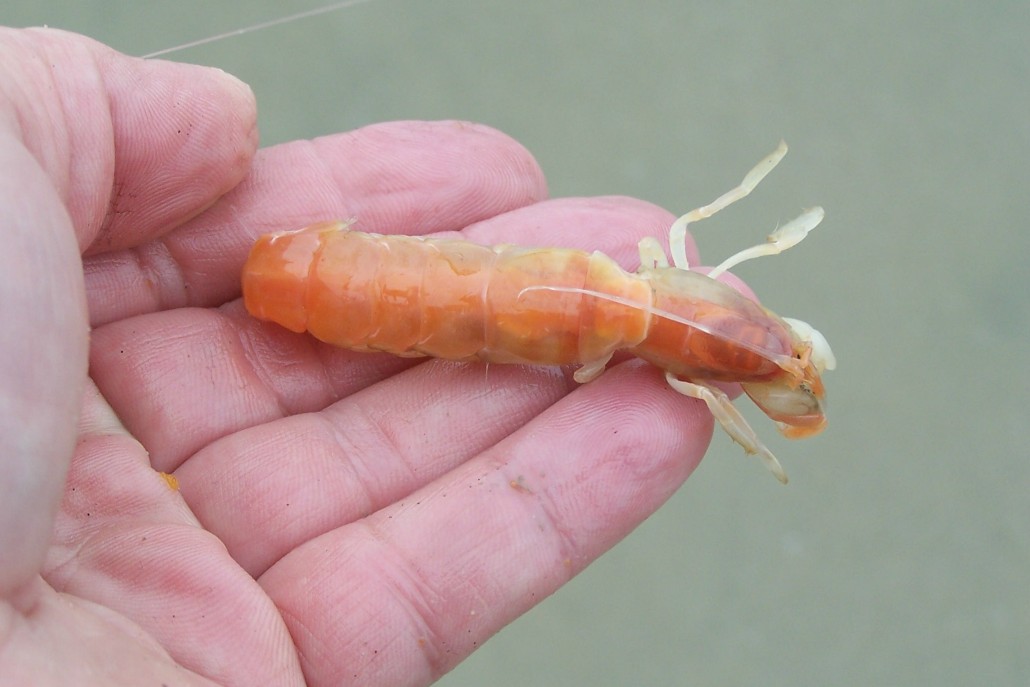 Ghost shrimp have always been known as the “candy bait” of the surf. Available in stores for decades shrimp are now flown in from half-way across the world or caught at your local estuary. Although very few stores now carry ghosties you can still find them with a little patience and perseverance near harbors, bays and estuaries.
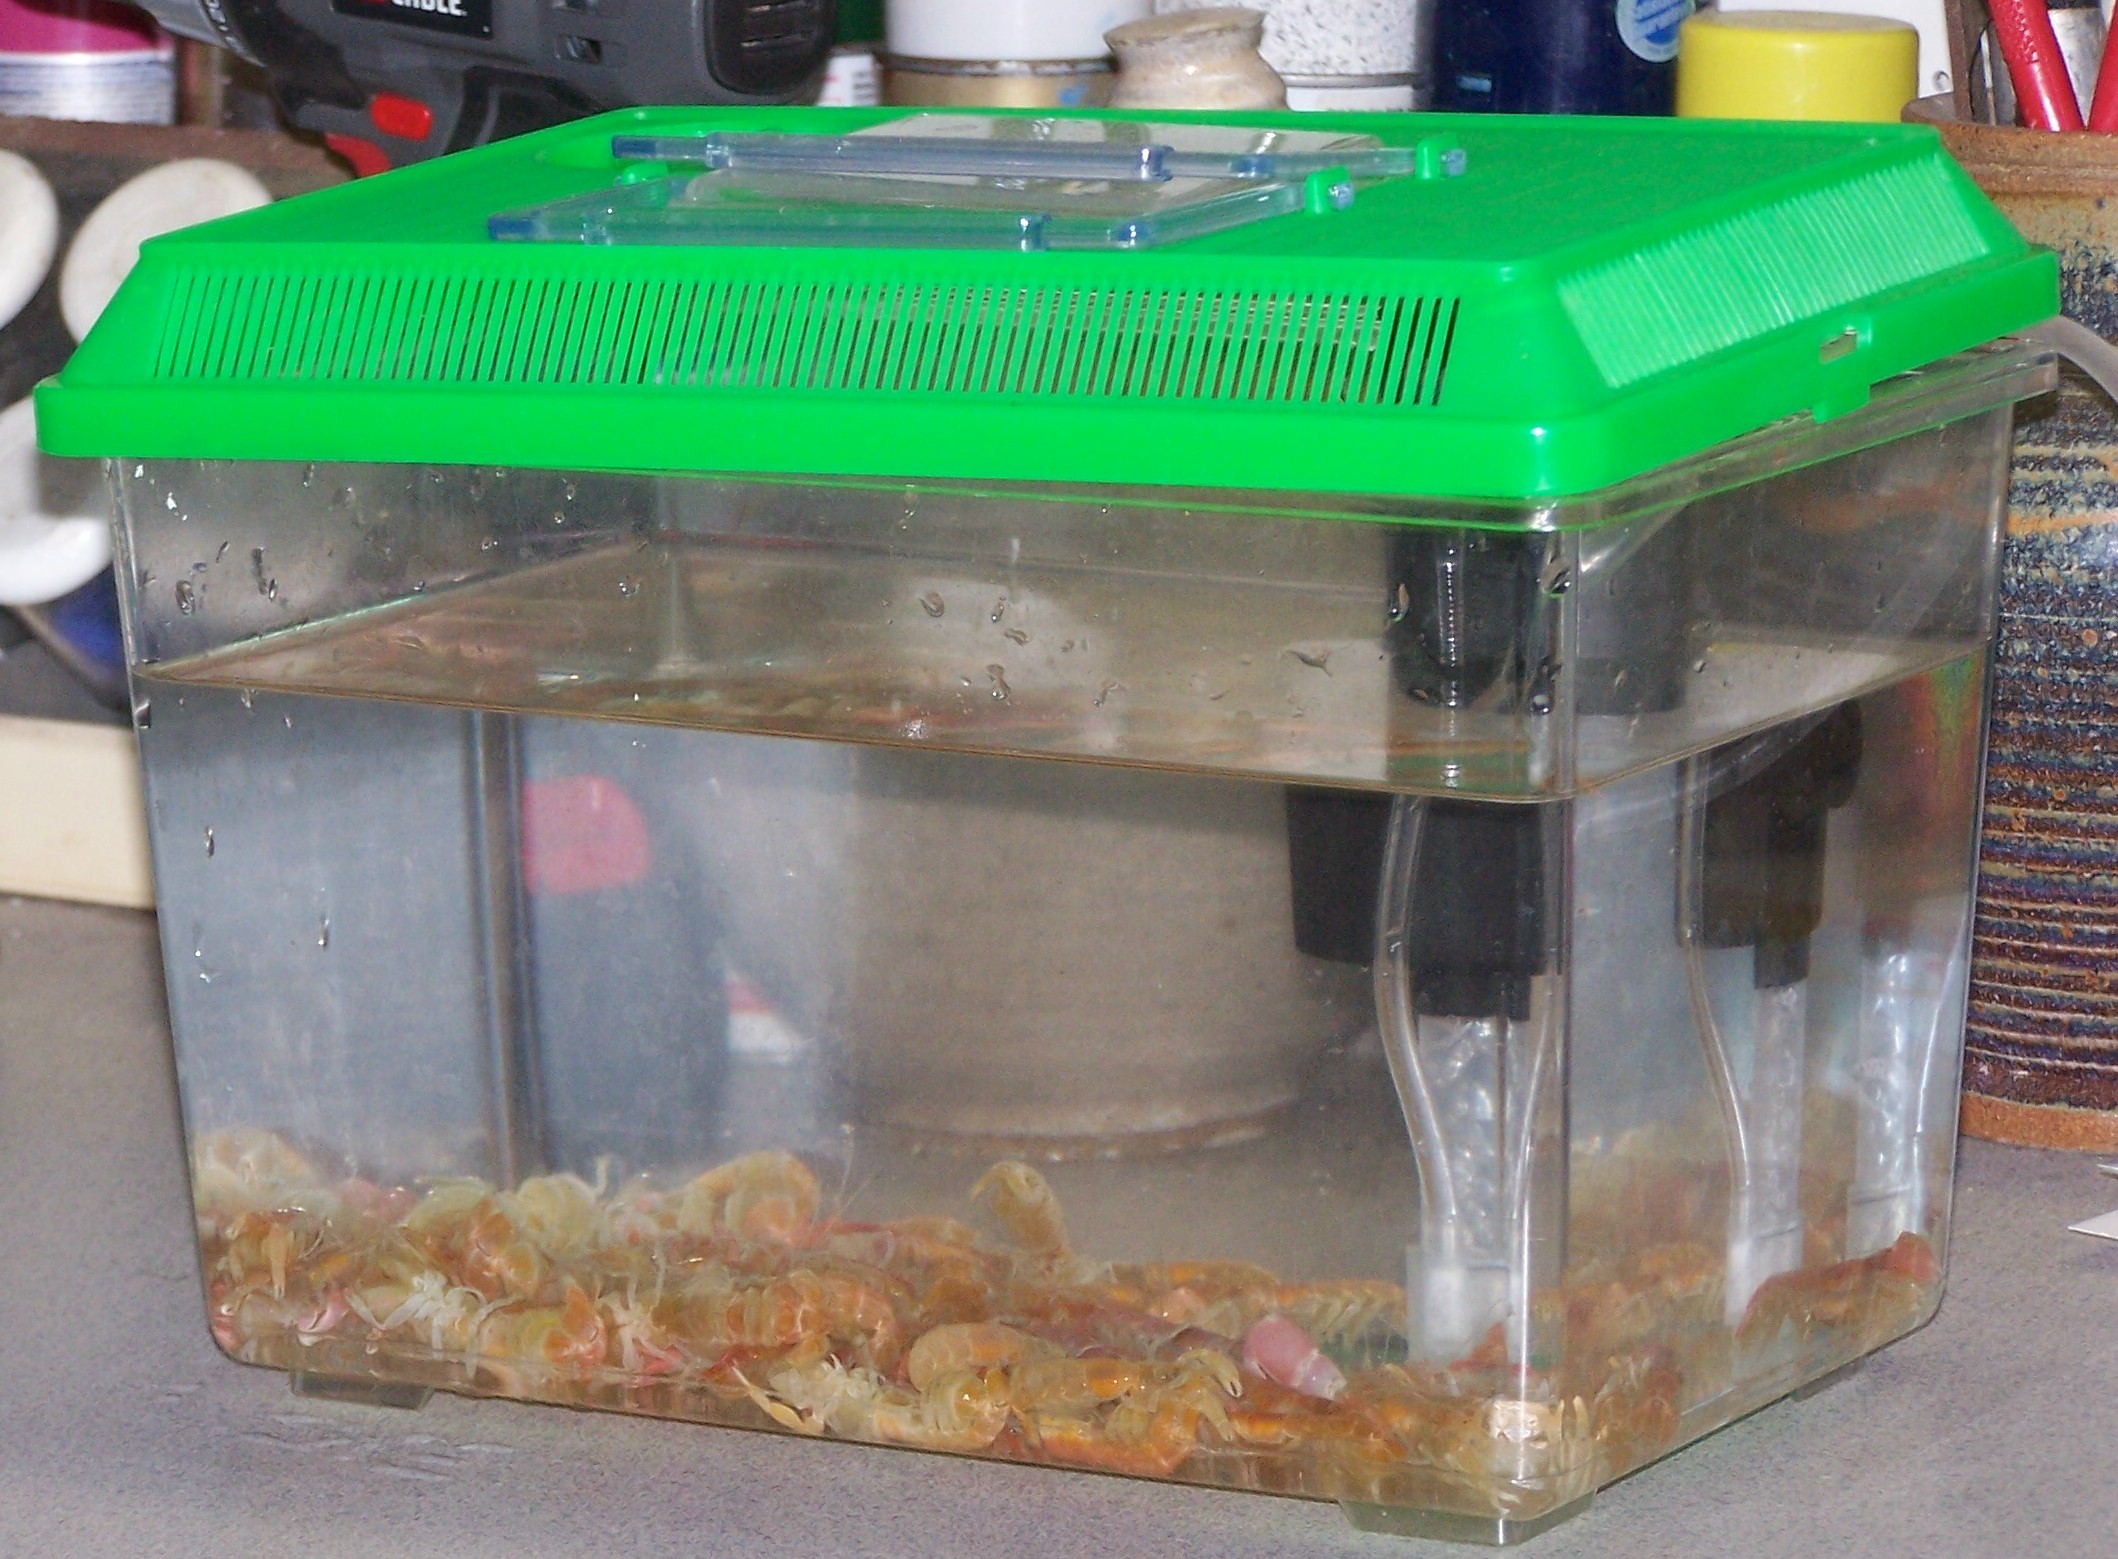 Shrimp are best kept in the refrigerator inside a plastic container with or without salt water. Look for them to live about 3 days without water and about a week with it. I use a five-gallon plastic aquarium to keep my shrimp fresh. Water can be kept cold by placing one or two frozen water bottles inside a five-gallon aquarium or by placing the aquarium itself in the refrigerator.
 Don’t ever reel your bait in until you see the egg sinker hit the sand. So many big ones have been caught in just inches of water and you don’t want to be the one who sees their corbina shrug it shoulders, wave a fin and swim away.